Manu Sharma•July 11, 2019
Introducing Image Segmentation at Labelbox
Labelbox's Brand New Label Editor Supporting Image Segmentation
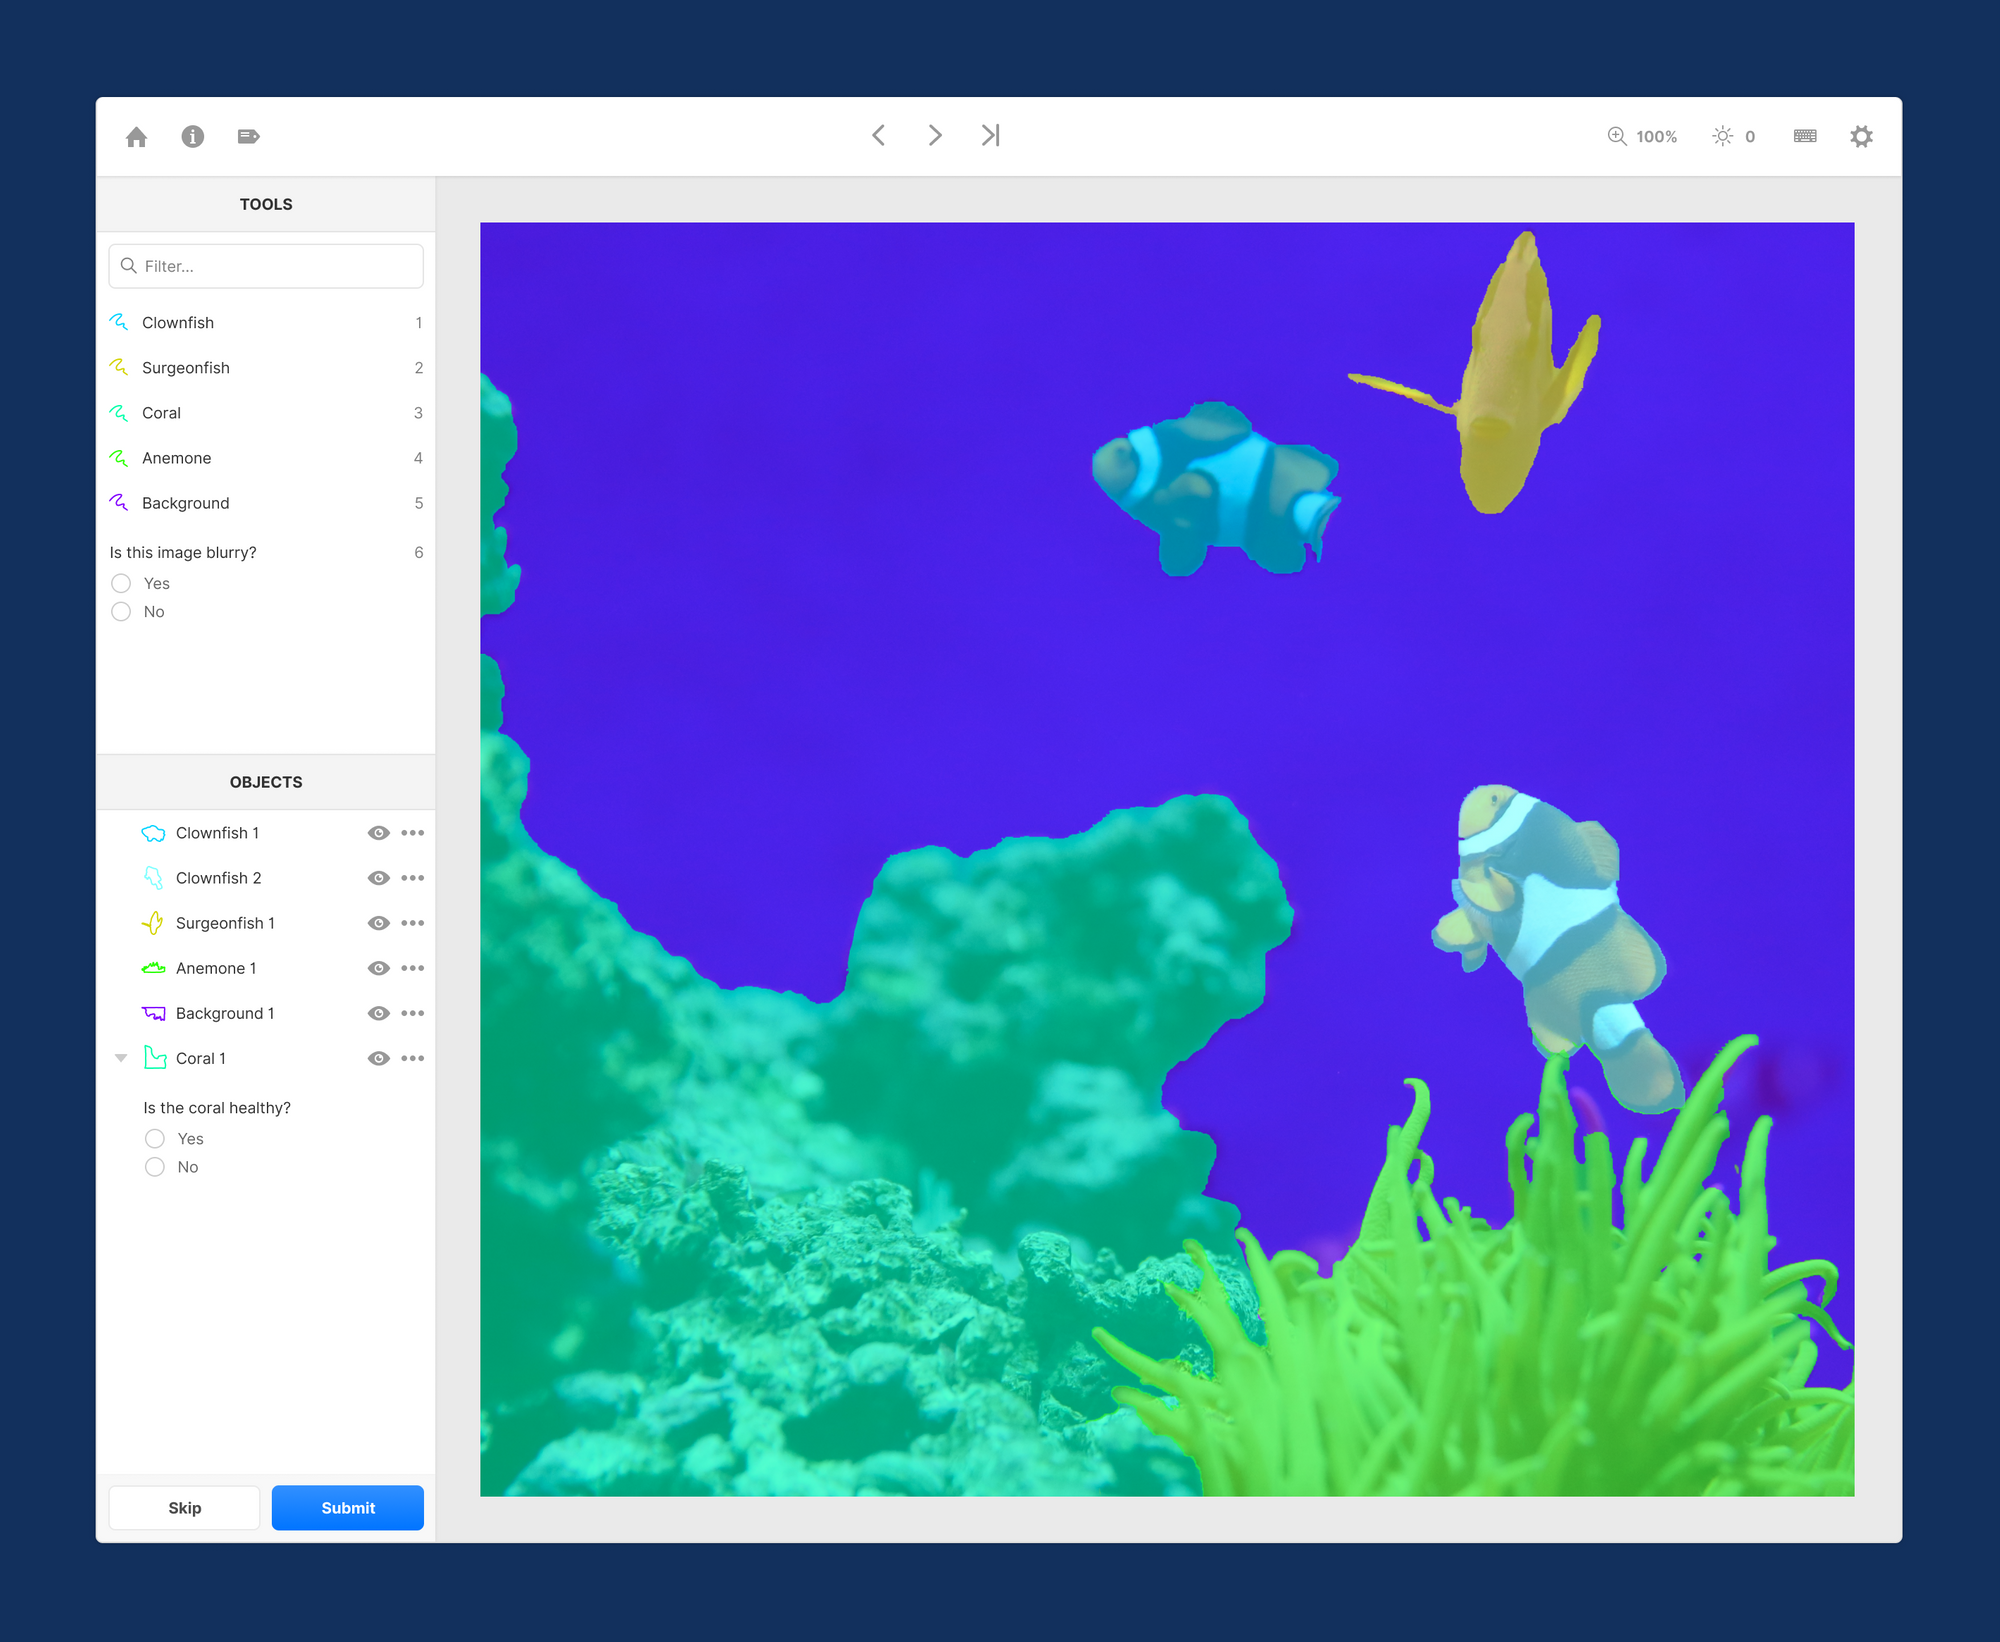
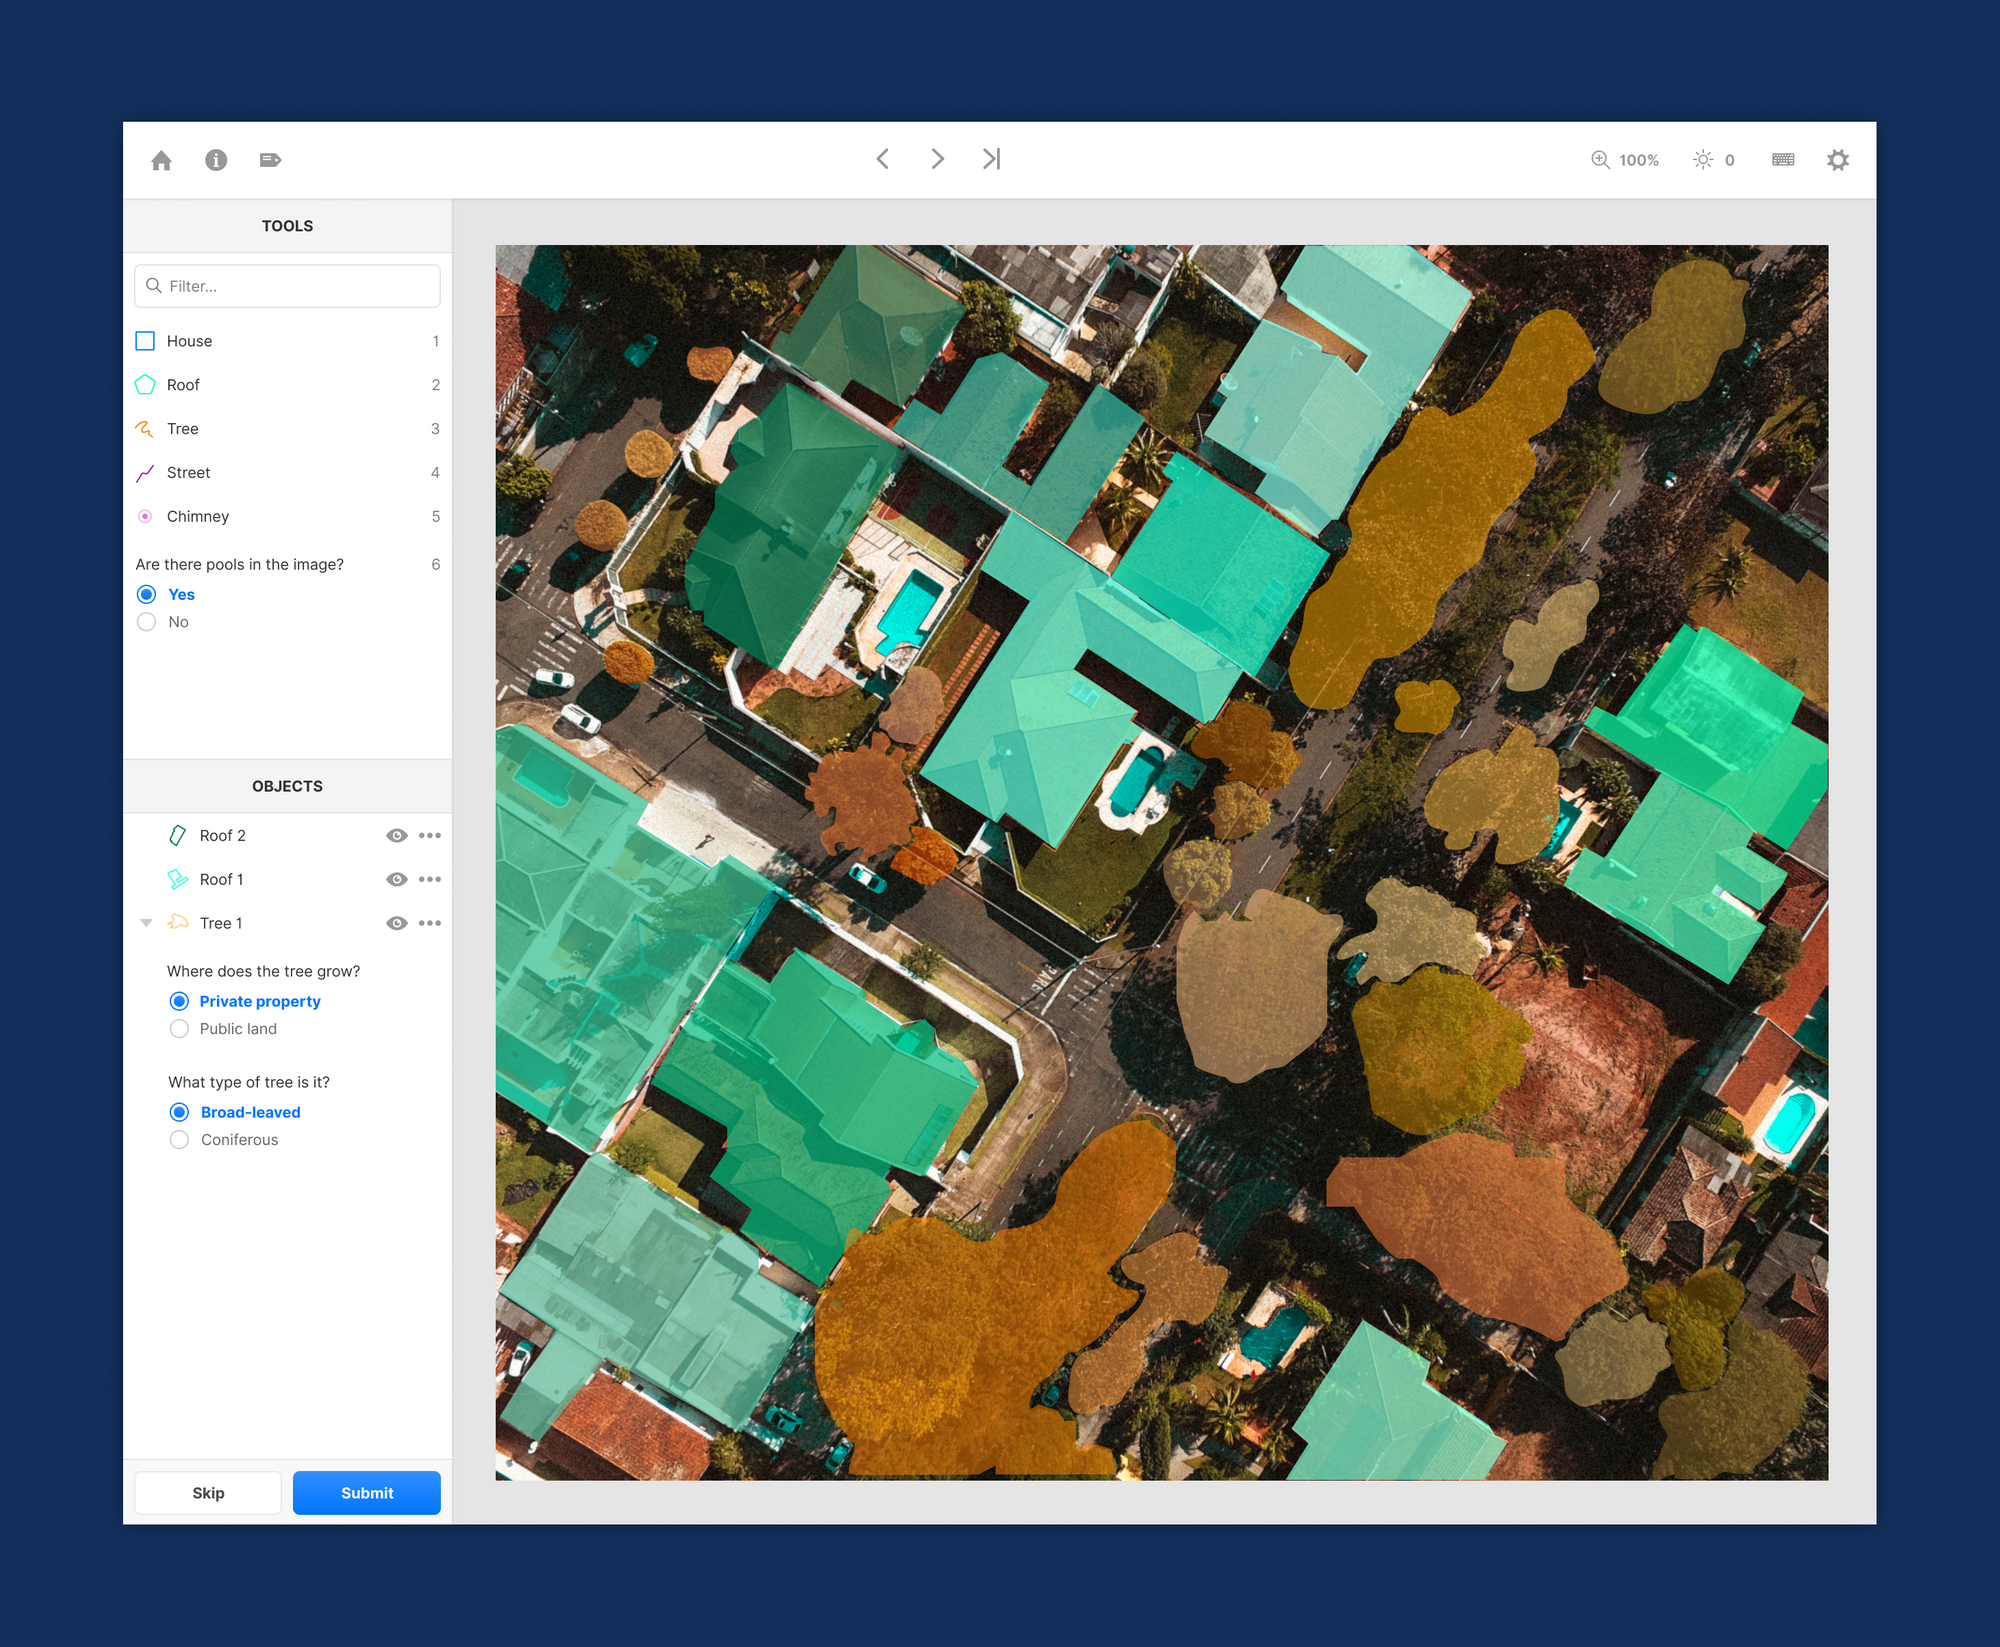
Today we are releasing a brand new label editor supporting image segmentation and instances.
Image segmentation is one of the most labor intensive annotation tasks because it requires pixel level accuracy—a single image can take up to 30 minutes to complete. This makes image segmentation prohibitive for many projects, as it becomes very costly to label the amount of training data necessary to achieve performant model results.
We saw many teams constrained by this—they wanted to do image segmentation but either the tools available weren’t good enough, or it would be too costly. So we set out to create a tool that makes image segmentation fast and accurate to make the technology accessible to more computer vision teams and projects.
Before diving into all of the features, let’s first remind ourselves of why image segmentation matters for computer vision.
Antsy to get started? You can try the label editor out now by enabling “Images (segmentation)” in your project settings.
Why Image Segmentation?
There are three common tasks within computer vision: 1) classification 2) object detection and 3) image segmentation. With classification the goal is to only identify what objects and other properties exist in an image. With object detection you go one step further and also find the position (bounding boxes) of individual objects.

With image segmentation, the goal is to recognize and understand what's in the image at the pixel level. Every pixel in an image belongs to a single class, as opposed to object detection where the bounding boxes of objects can overlap.
As shown in the “image segmentation” example above, the two birds belong to the class “bird”, so the model is able to identify all of the pixels belonging to “bird” but is unable to identify the individual birds. That’s where instance segmentation comes in.
With instance segmentation, multiple disparate regions can belong to a single instance of a class. Each bird in the example above is annotated as an instance of the “Bird” class and is also given an ID e.g. “Bird 1”, “Bird 2” and so forth. Therefore the model is able to identify all of the pixels belonging to an individual bird even if the instance contains multiple regions.
Image segmentation is often used when high accuracy is required of the computer vision application being built. Typical use cases include autonomous vehicles, medical and retail applications.


The New Label Editor
With the new label editor in Labelbox, you are able to make full image segmentation masks with instances.

The first thing you’ll notice is that we’ve updated the user interface. It’s easier to find your way around and we’ve reduced the size of the sidebar so there’s more screen space available for the canvas.
We’ve re-engineered the rendering engine from the ground up so creating complex labels is really fast, even on lower spec PCs and laptops. Performance is critical for professional labelers who's working in the editor all day.
Pen Tool
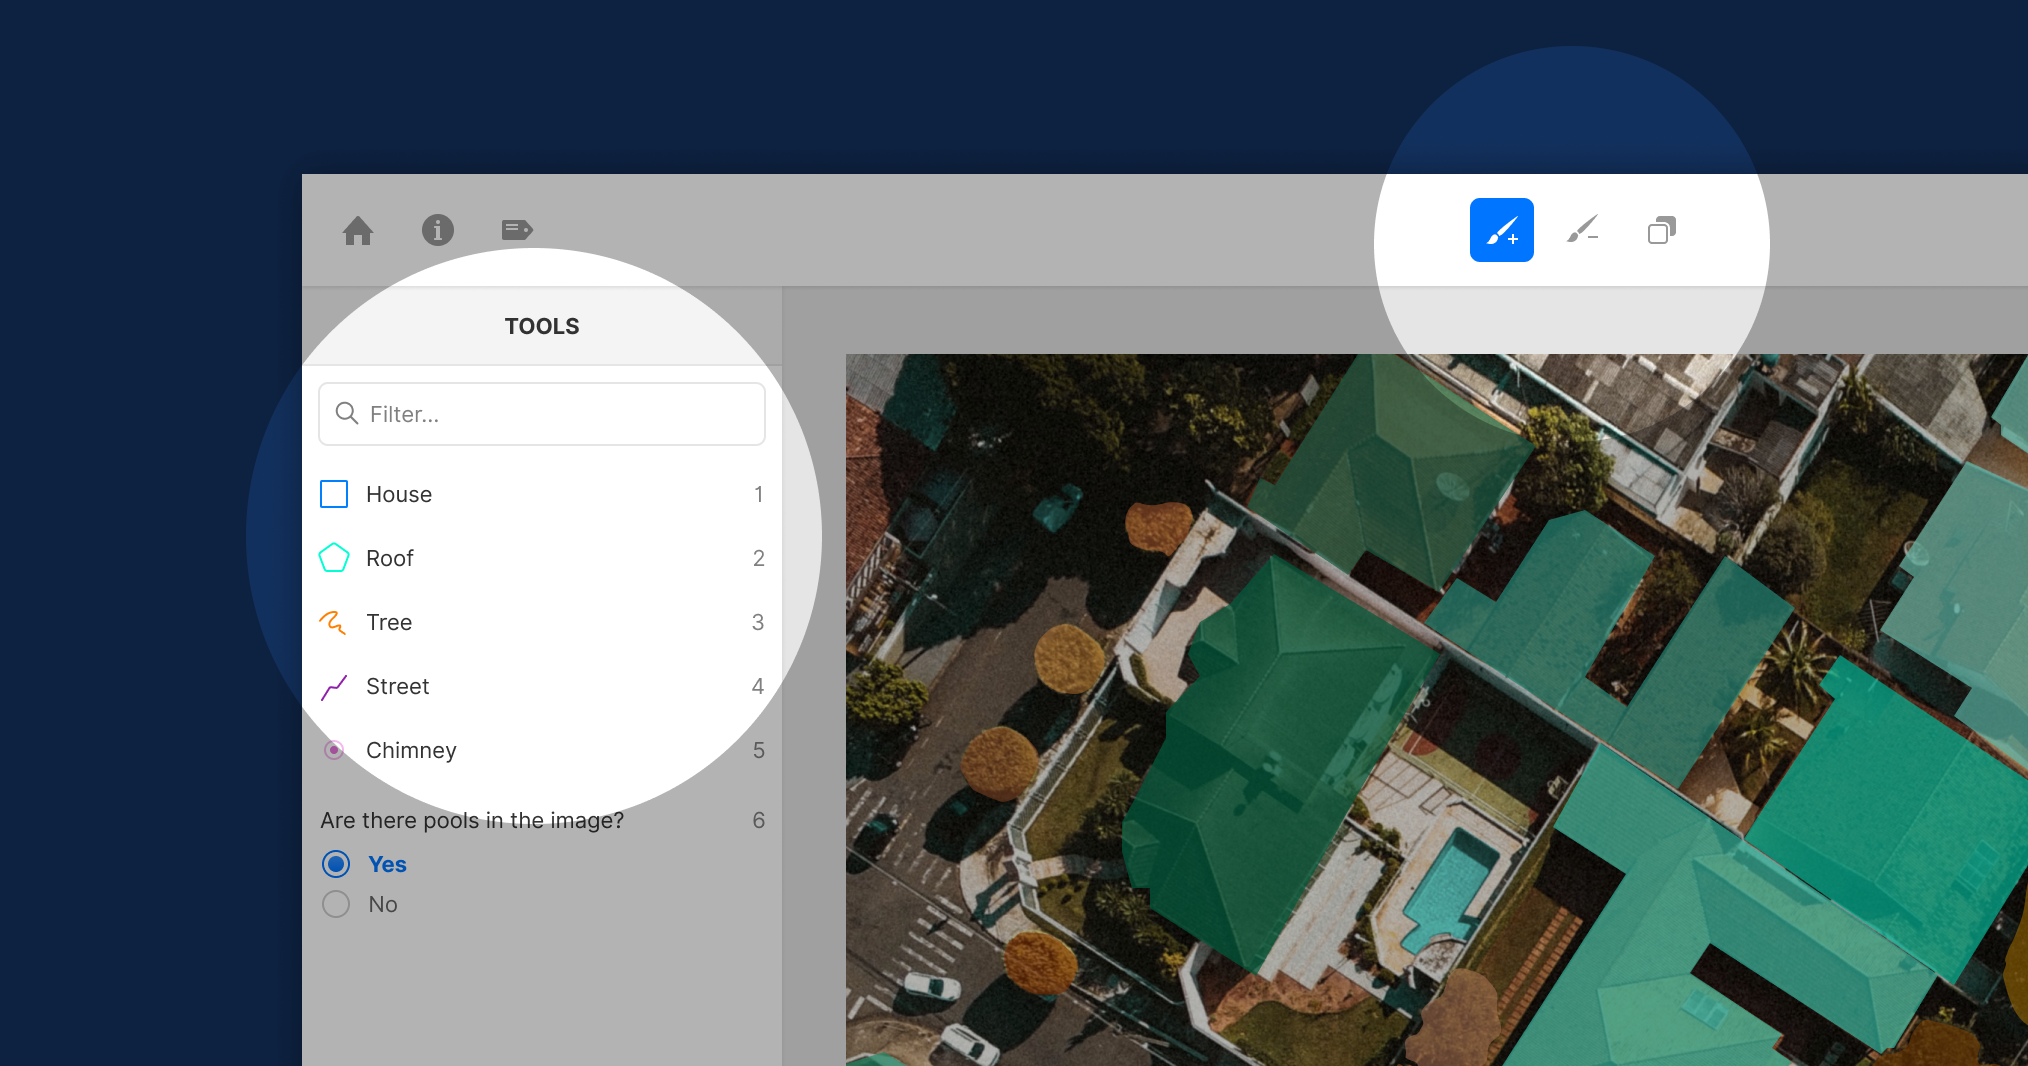
The new pen drawing tool is designed to be the fastest way to outline complex shapes. It allows you to draw freehand as well as straight lines, similar to a polygon tool. You can also use it to erase, just click the (-) icon in the top bar.
Pro tip: Hold Alt/Option on your keyboard to temporarily switch to the erase mode while you draw.
Instance Segmentation Using Objects and Nested Classifications
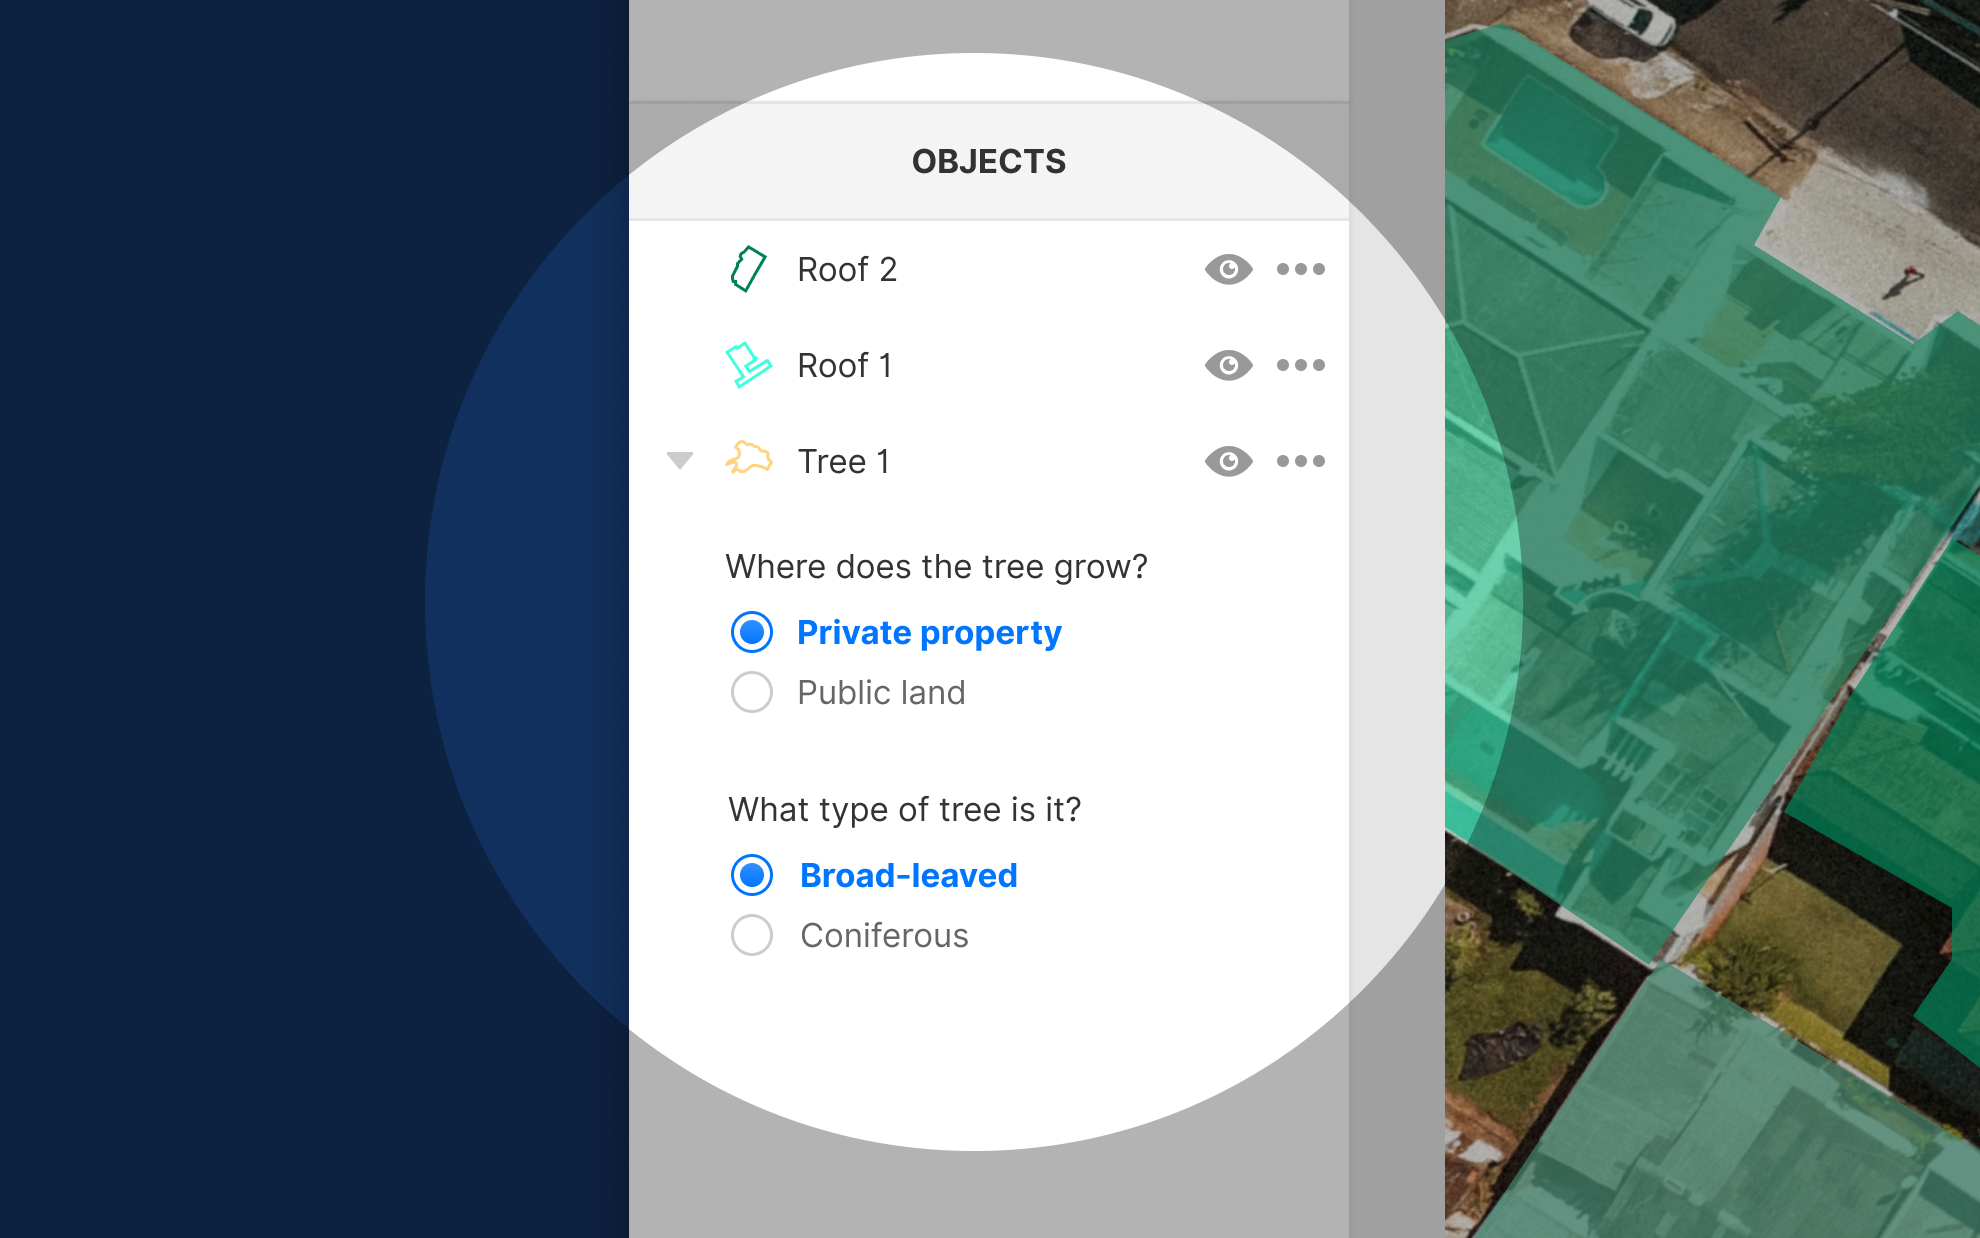
In the left sidebar there is now an Objects section. This lists all of the objects (aka instances) in the current image. You create a new object from the Tools section above, and when you are done drawing, it will appear in the Objects section.
You can create objects that have separate regions. Just close a region and start a new one and it will belong to the same object. If you want to edit an object, like adding a new region, just click on it in the list and use the pen tool to add/remove regions.
Objects can also be configured with nested classifications, handy for defining properties. Nested classifications are created when you are configuring the editor.
Creating Shared Borders
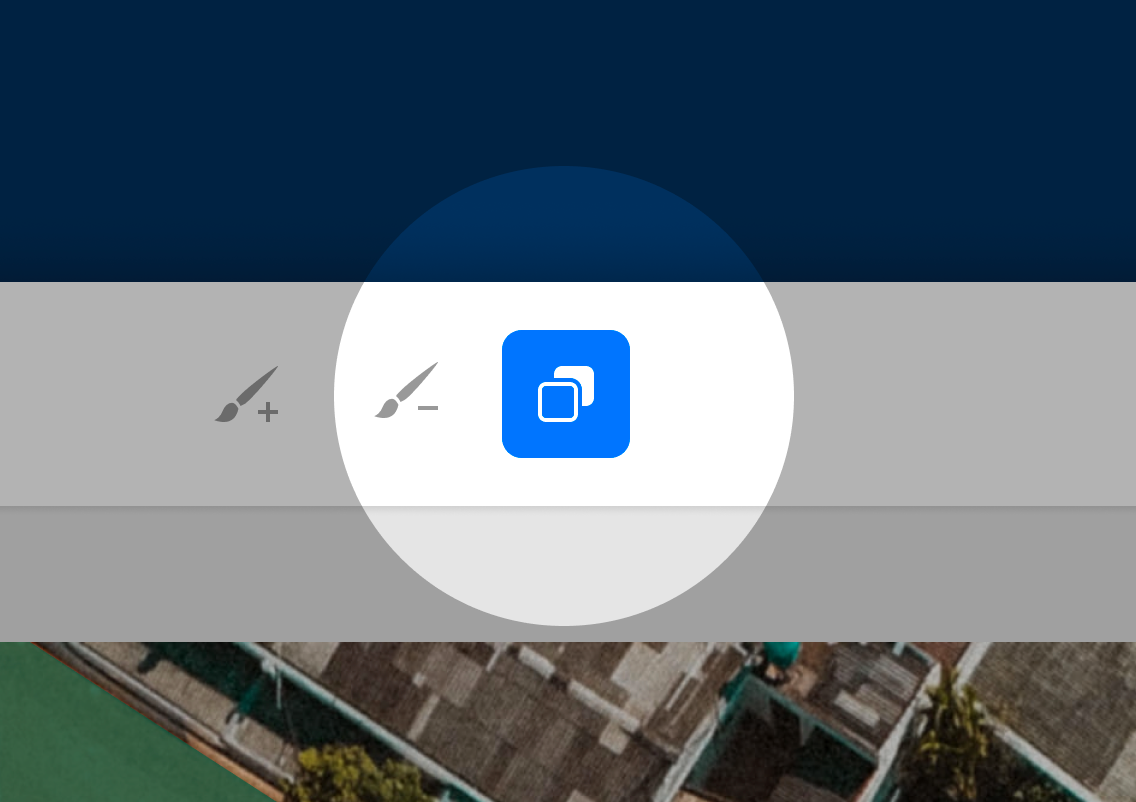
When creating image segmentation masks, it’s important to be able to share borders between objects. With the new label editor, it’s simple. Whenever you draw a new object, if you overlap the border of an already existing object, the new border you’re drawing will be shared.
This works really well for when you are labeling objects from the background first. Sometimes though you want to be able to draw foreground objects first, and then be able to draw an object behind without messing up the masks you’ve already created. To do that you just click the “draw to back” icon.
Brightness and Contrast
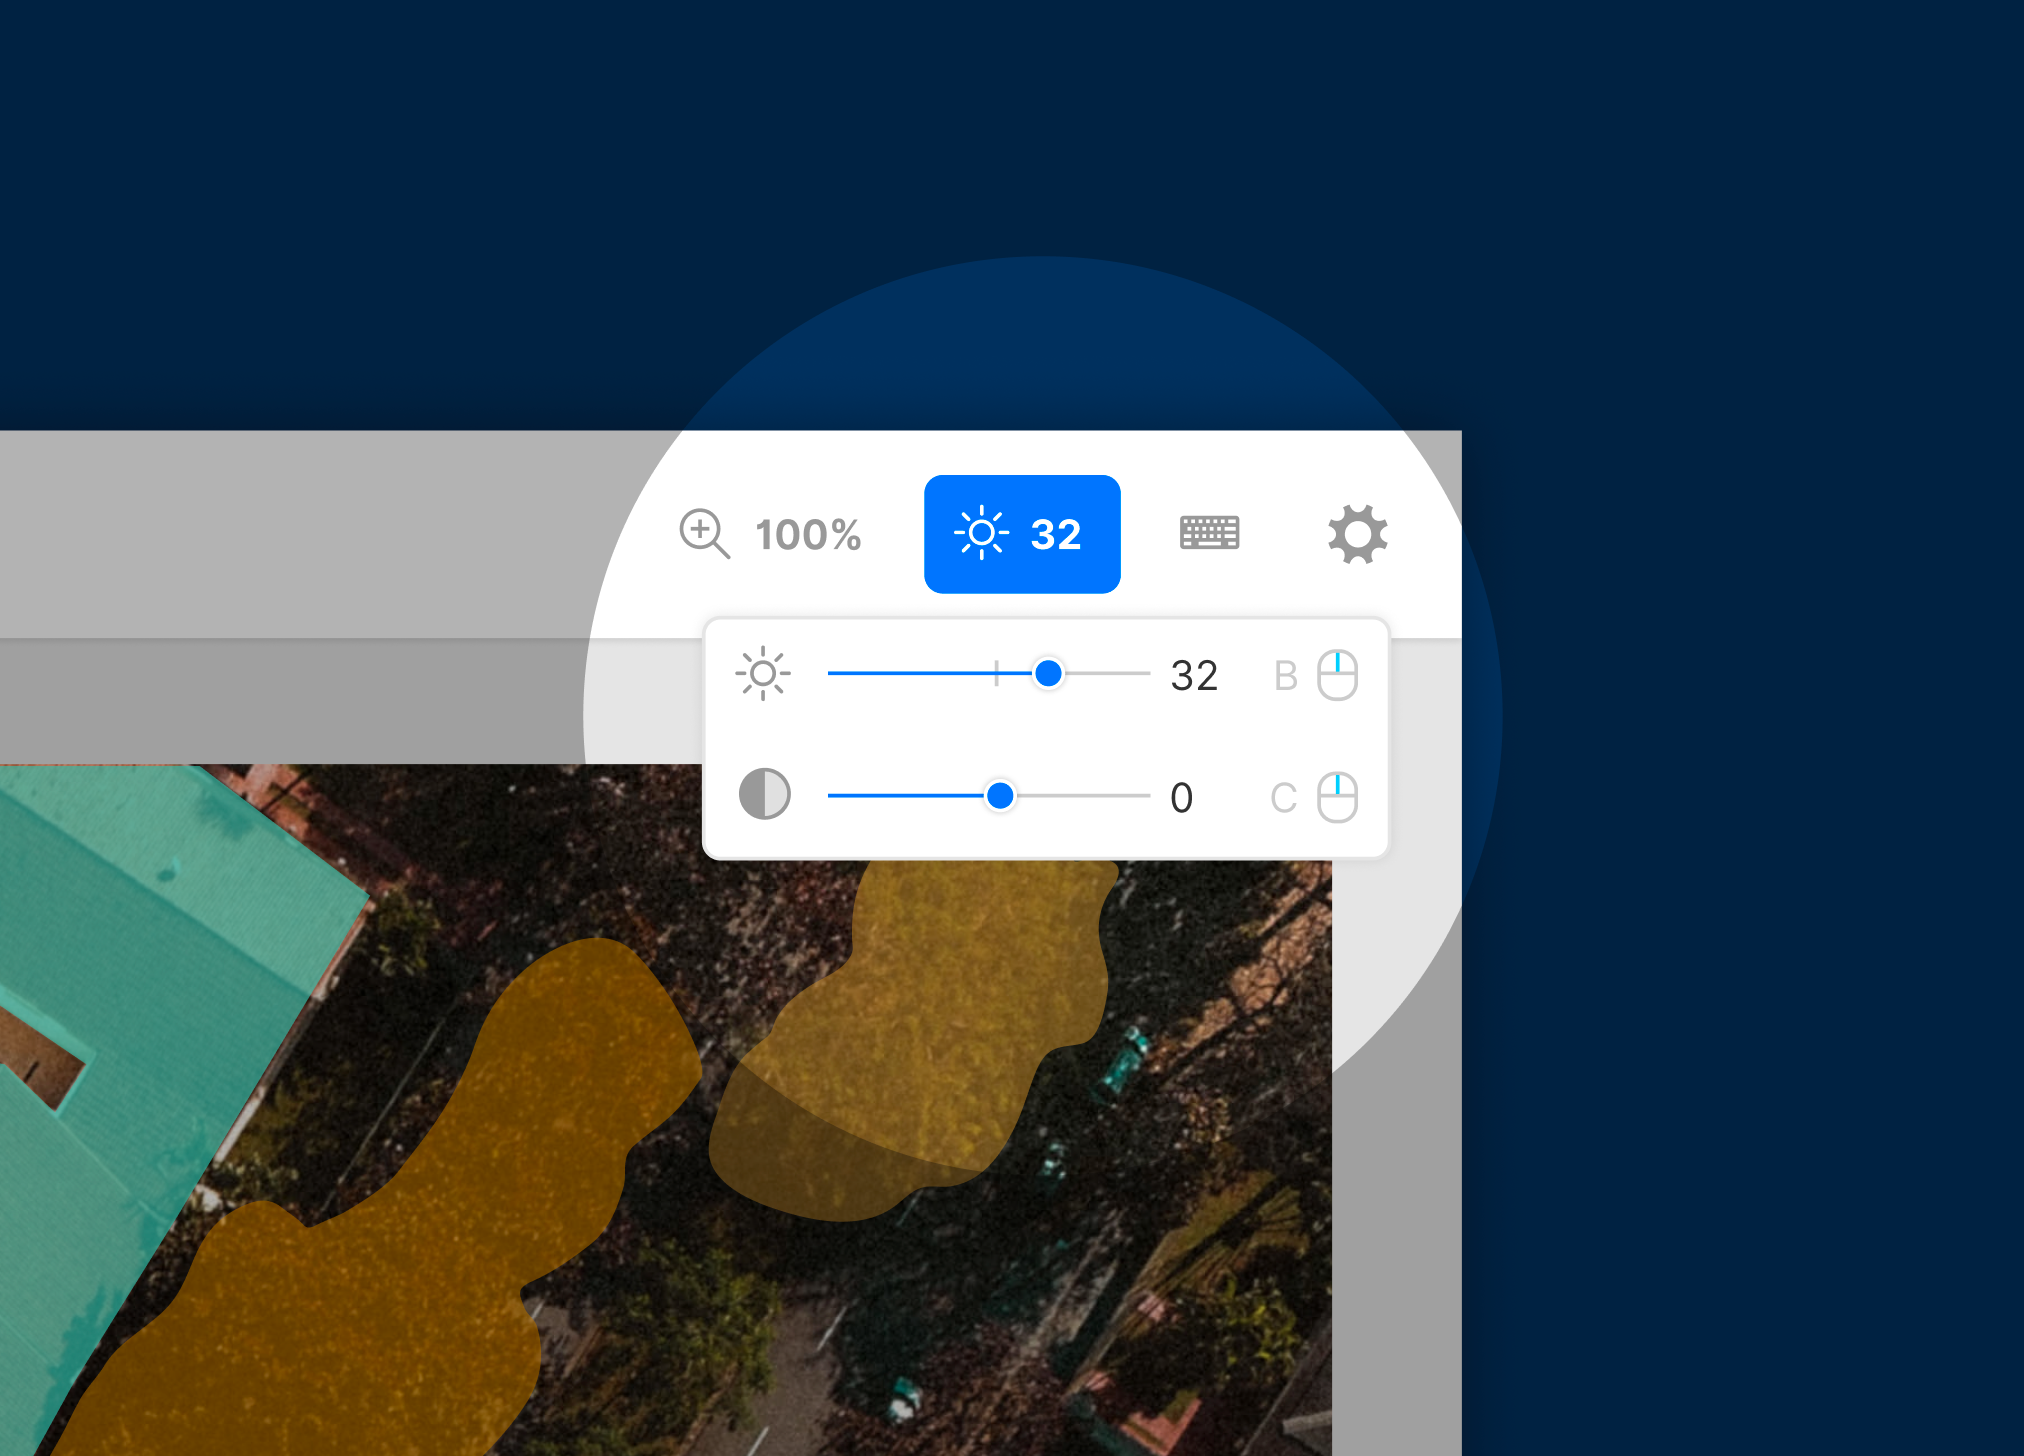
Sometimes objects in dark or nighttime images can be hard to clearly distinguish from each other. We’ve added brightness and contrast controls to help brighten images and bring out those edges between objects.
Zooming and Panning
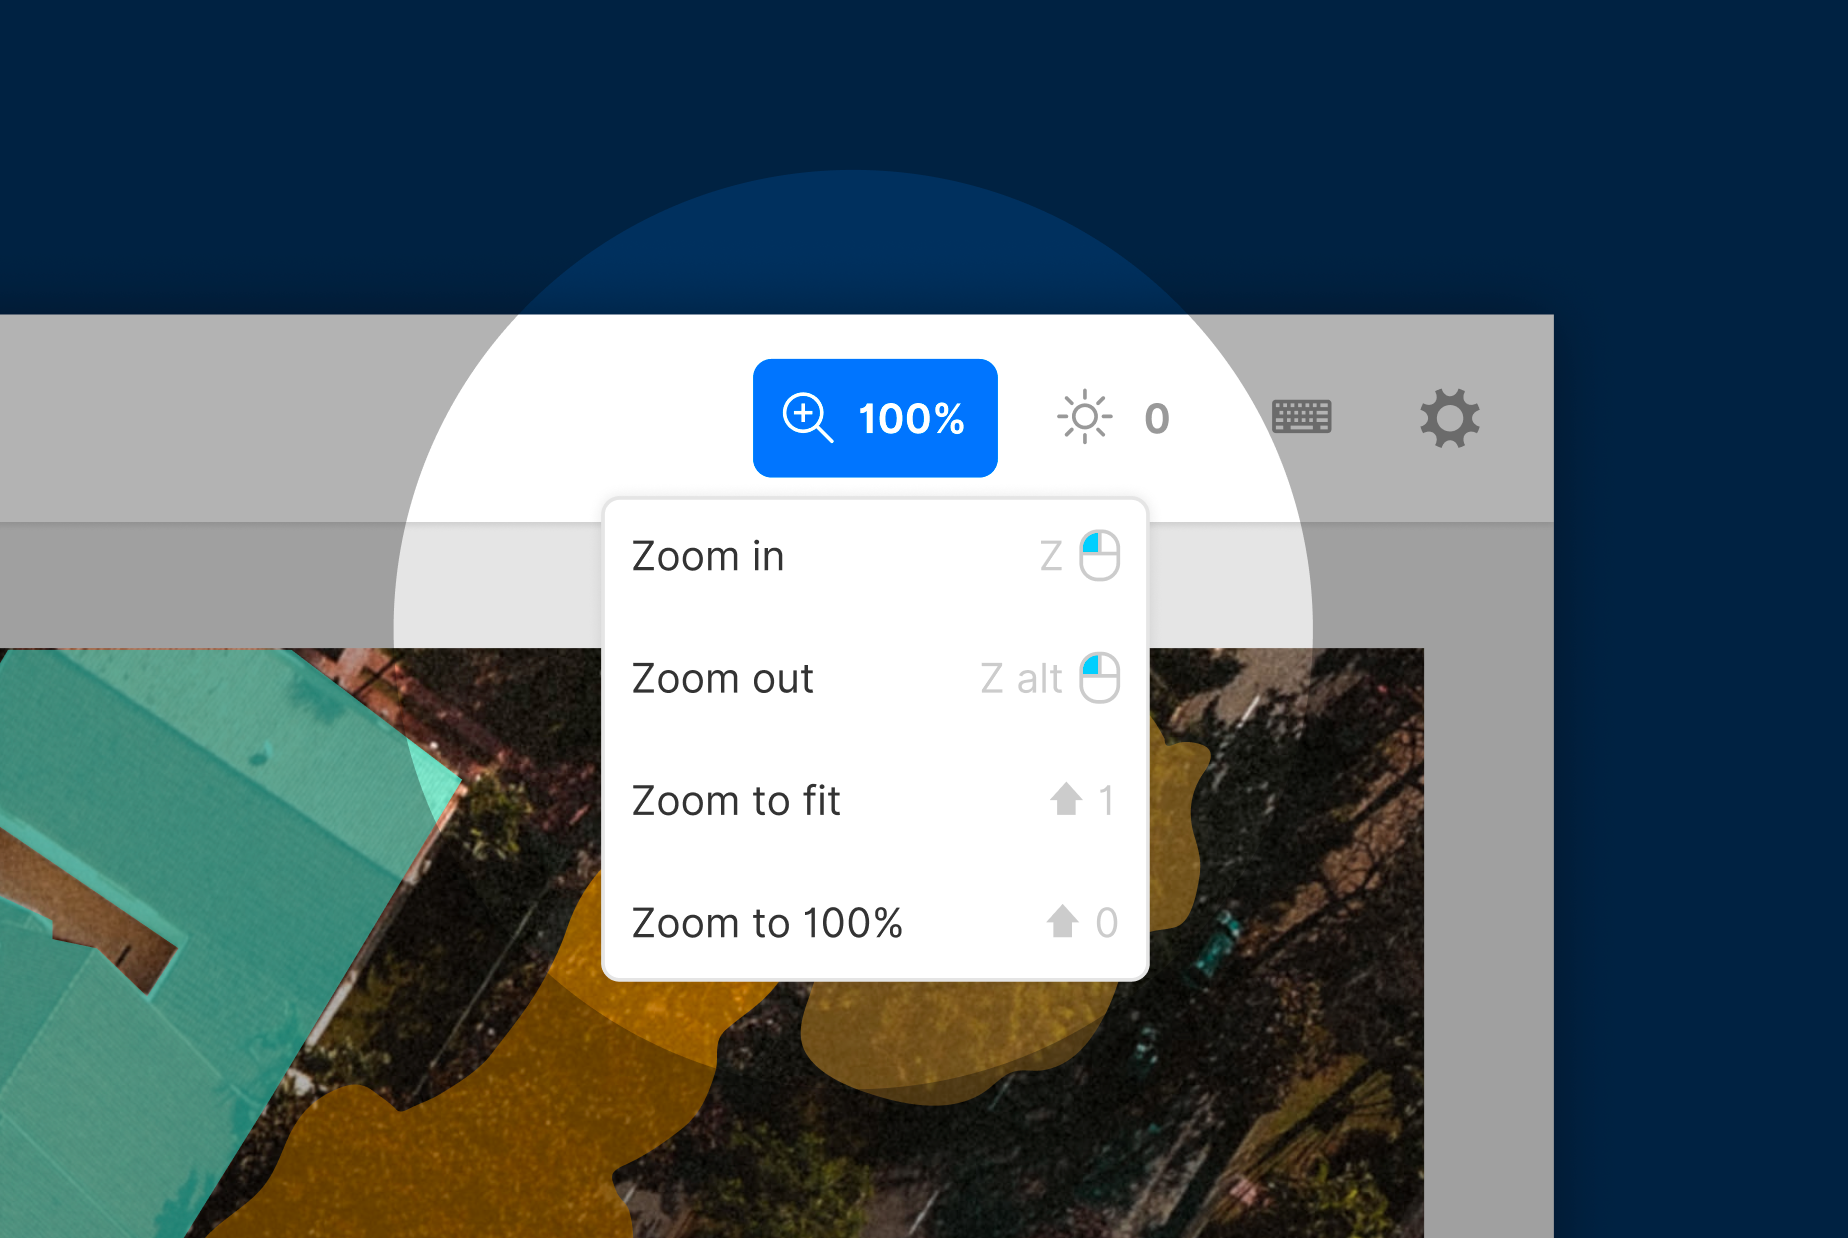
We’ve made some changes to zooming and panning to make it more predicable and accurate. You access zoom in the new menu in the top bar. You can also activate zoom by pressing Z on your keyboard. Panning is done by holding down space bar. This takes a little bit to get used to if you are used to the old zoom controls, but once you do, it’s a much more effective way of navigating the canvas.
Exporting
Exporting of labels works the same way as before, just head to the Export section in your project. Your labels will be exported together with the objects and masks to use in your model.
How do I use it?
Easy. Create a free Labelbox account or sign in. Create a new project and add “Images (segmentation)” as your label editor. That’s it!
What’s Next With Image Segmentation At Labelbox
This is the first release of the new label editor and we think it’s a great way to create image segmentation with instances. We are looking forward to hearing what you think so please reach out to us with feedback and thoughts.
We will be adding more features like additional drawing tools, consensus/benchmarks and assisted labeling over the coming weeks and months, so keep an eye on this blog for updates!

 All blog posts

