Model runs
Create and compare model training experiments.
What is a model run?
A model run represents a single iteration within a model training experiment. Each model run contains a versioned snapshot of the data rows, annotations (predictions and/or ground truth), and data splits for each iteration within a model training experiment.
Model runs make it easy for you to reproduce a model training experiment using different parameters. You can also use model runs to track and compare model runs trained on different data versions.
Each model run contains the following configurations:
| Parameter | Description |
|---|---|
| Ontology | A collection of feature schemas and their relationships for model training. |
| Ground truth | Annotations created by and/or verified by a human. |
| Predictions | Output from a machine learning model on a set of data. |
| Data splits | Specified allocation of data rows into training, validation, and testing sets. |
Note: When you configure the parameters above in a model run, you have the option to save the configuration as a model run config. Model run configs can easily be reused for future model runs.
Create a model run
To learn how to create a model run in an experiment, see Create a model run.
View/manage model runs
To view and manage the model runs in an experiment, go to Model and select an experiment. The Model runs subtab is the default view when you select an experiment.
Within the model runs tab, you'll see the following tools to help you navigate and narrow down the data rows in your model run.
Filter and sort
When you compare two model runs, you can use the filters to further narrow down the data rows in the model runs being compared. Then, you can save these filters as a slice to reuse later.
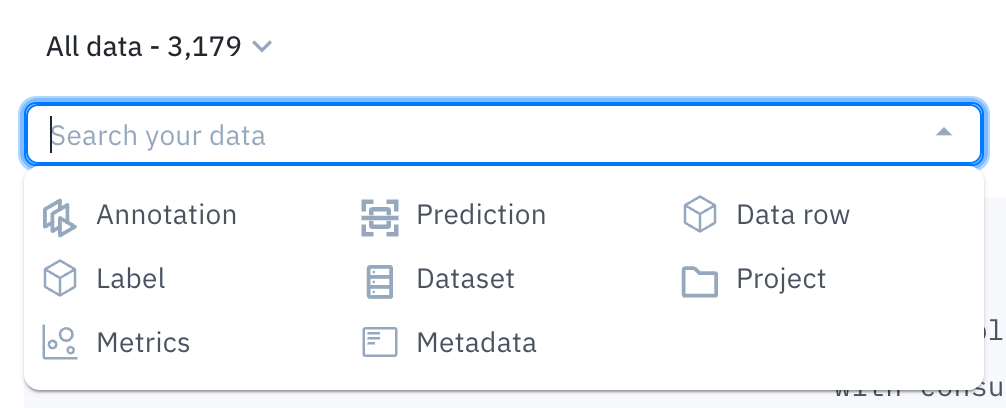
Type any text into the search bar to narrow down your data rows.
Customers often use filters to find low-performing slices of data, surface labeling mistakes, and identify high-impact data to use for relabeling.
For details on filtering and sorting data rows, see the following pages:
For computer vision-related data rows, you can also use the confidence and IOU threshold settings to modify your view of the data rows (gallery view and metrics view only).

Use these sliders to adjust the threshold range. Click the gear icon to edit the threshold values.
| Setting | Description |
|---|---|
| Confidence threshold | Use this slider to display only the predictions within the specified confidence threshold. You can edit the threshold values by clicking the gear icon. |
| IOU threshold | Use this slide to display only the annotations within the specified IOU range. You can edit the threshold values by clicking the gear icon. |
Gallery view
You can use the gallery view to:
- Visually compare predictions against ground truth within a single model run.
- Visually compare a model run's predictions and/or ground truth labels against another model run.
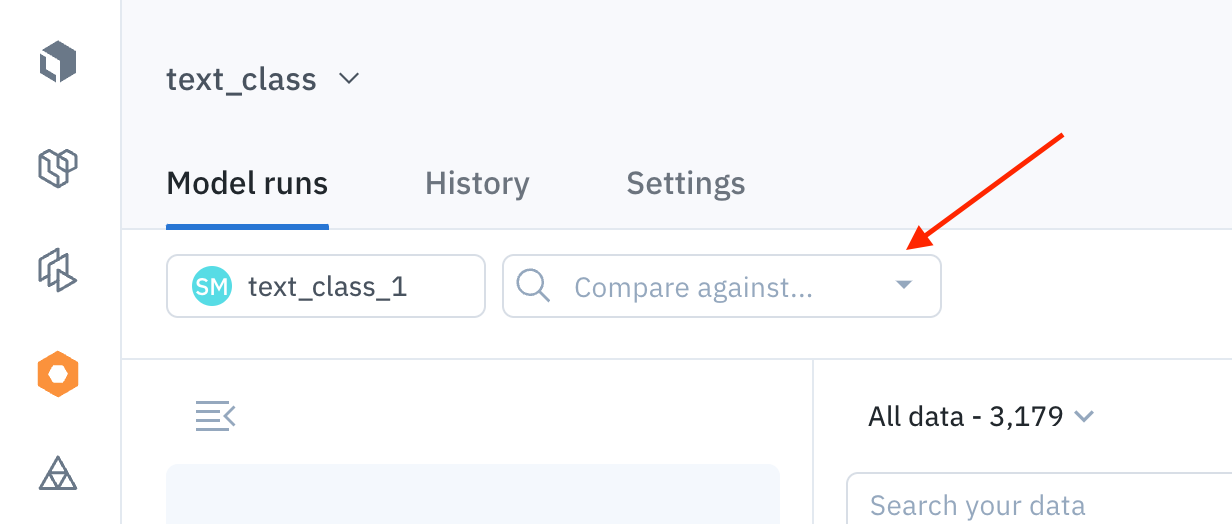
Use the Compare against dropdown to find and select another model run to compare.
Display settings
You can customize how the data rows are displayed in the gallery view by opening the Display panel (the eye icon).
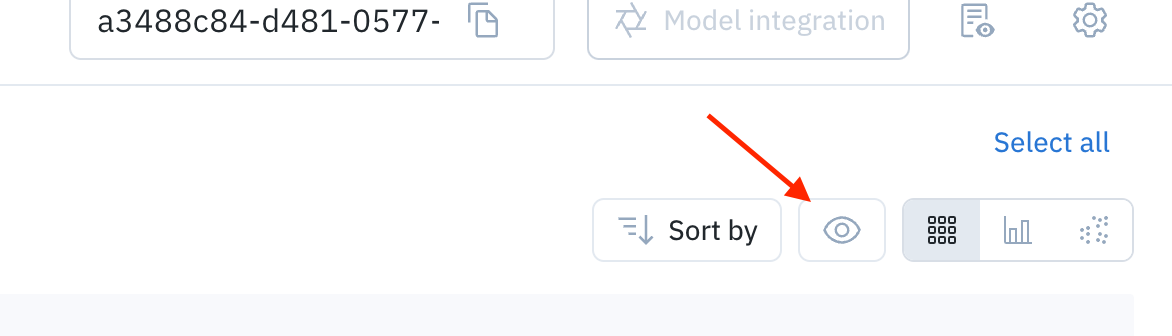
Click this icon to open the display settings.
From there, you can customize the following settings:
| Display setting | Description |
|---|---|
| Thumbnail size | Adjust the size of the thumbnails. |
| Assets > Grayscale coloring | Display assets in grayscale to make annotations and predictions more visible. |
| Assets > Pin data row details | Display data row details at the top of the thumbnails. |
| Assets > View text asset legends | For text data rows, toggle this on to view the annotation information for that data row. |
| Metrics > Confidence threshold | Display only the predictions within the specified confidence threshold. |
| Metrics > IOU threshold | Display only the annotations within the specified IOU range. |
| Ground truth | Hide/show ground truth annotations (bounding boxes, entities, polygons, segmentation masks, classifications, etc) on the thumbnails |
| Predictions | Hide/show predictions (bounding boxes, entities, polygons, segmentation masks, classifications, etc) on the thumbnails |
| Object colors (non-segmentation tool types only) | Select Color by feature to display annotations and predictions associated with the same feature schema as the same color. This option will display annotations with solid lines and predictions with dashed lines. Select Color by source to display all annotations with solid green lines and all predictions with dashed red lines. |
| Conversational text formatting | For conversational data rows, use these options to view the asset thumbnail in its raw format or in markdown format. |
Metrics view
Use the metrics view to analyze the distribution of annotations and predictions in your data, evaluate the performance of a model, and quantitatively compare two models.
For details on which metrics are provided and how to use the metrics view, see Model metrics.
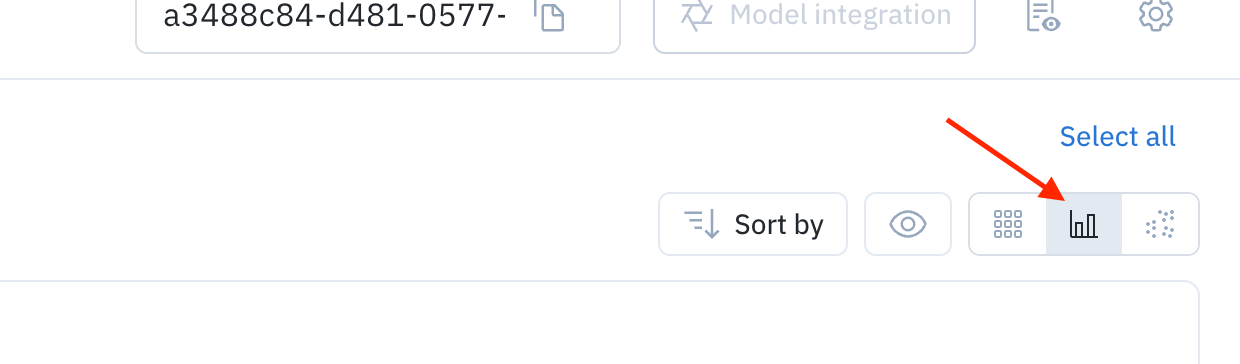
Click this icon to open the metrics view.
Projector view
The projector view uses embeddings to display your data rows in a 2D space. This view allows you to select clusters of data points in order to uncover patterns and diagnose systemic model and labeling errors.
To switch to the projector view, select the cluster icon in the corner.
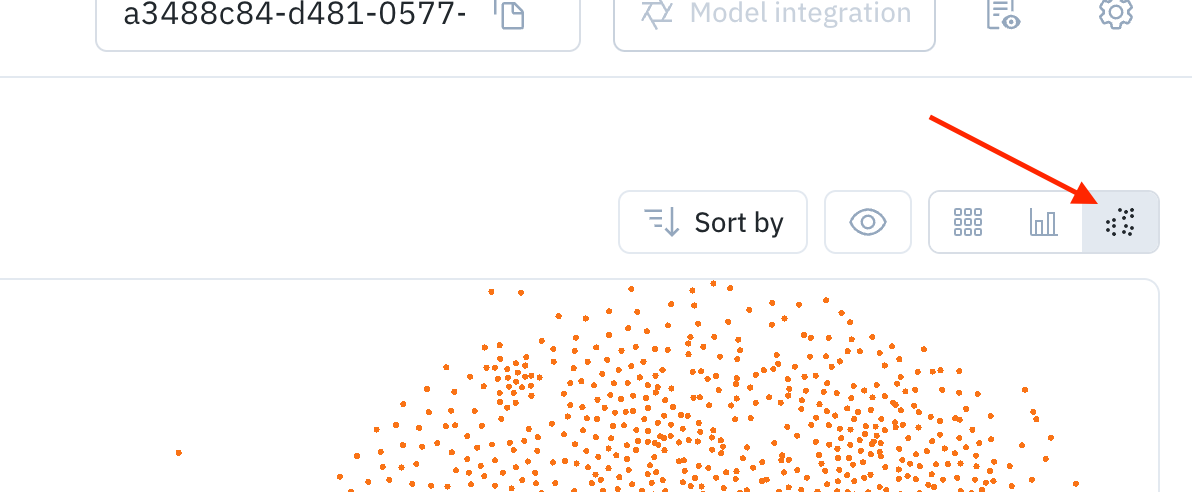
Click this icon to open the cluster view.
You can use the projector tool to employ dimensionality reduction algorithms to explore embeddings in 2D interactively. The projector view supports two algorithms for dimensionality reduction: UMAP & PCA.
| Algorithm | Speed | Clustering |
|---|---|---|
| Principal Component Analysis (PCA) | Fast | No |
| Uniform Manifold Approximation and Projection (UMAP) | Slow | Yes |
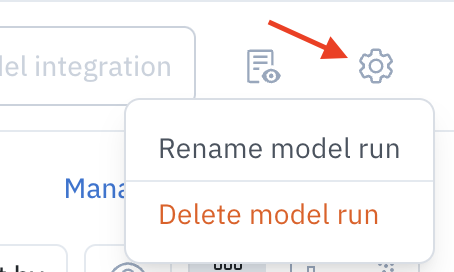
Update/delete a model run
Click the settings icon in the top right corner of the model runs page to modify the selected model run. If you choose to delete the model run, you will be prompted to confirm the deletion.
You can also update a model run by updating the Model run config file. To learn how to update the Model run config file, read our docs on Model run config.
Updated 7 days ago