Labelbox•July 6, 2022
Use automation to reduce your labeling time and spend

It’s no secret that developing and maintaining a performant machine learning (ML) model requires a huge amount of data. However, labeling training data from scratch can be time intensive, require expert labeling and review teams, and can quickly become expensive, especially for teams still developing best practices. Efficiently speeding up the data labeling process can be a challenge. This is where automation comes in. Incorporating automation into your workflow is one of the most effective ways to produce high-quality data, fast.
While creating any object from scratch can be time intensive, segmentation masks are often the most time consuming annotation type. On average, segmentation masks take around 3x longer to create than any other object type. Automation, such as ML editor-assisted tools, can help reduce the time spent manually labeling data. It lets humans focus on QA and review processes, rather than spending time creating labels from scratch.
With this in mind, Labelbox is excited to introduce our image auto-segmentation tool to help teams quickly generate and edit quality segmentation masks in just seconds.
Create quality masks in a fraction of the time with our auto-labeling tool
Regardless of whether you’re labeling data for your first model or you already have many models in production, you can use our new image auto-segmentation tool to save time and jump-start your labeling. Here’s how to best use our tool to get the most out of your automated labeling workflow.
- After setting up your image segmentation project and creating your ontology, select our image auto-segmentation tool from the toolbar. You can easily adjust the contrast and brightness of the image to make the area of interest more visible.
2. Draw a bounding box over the area you wish to segment. For a faster workflow, you can draw multiple bounding boxes at once and our auto-segmentation tool will queue them for labeling.
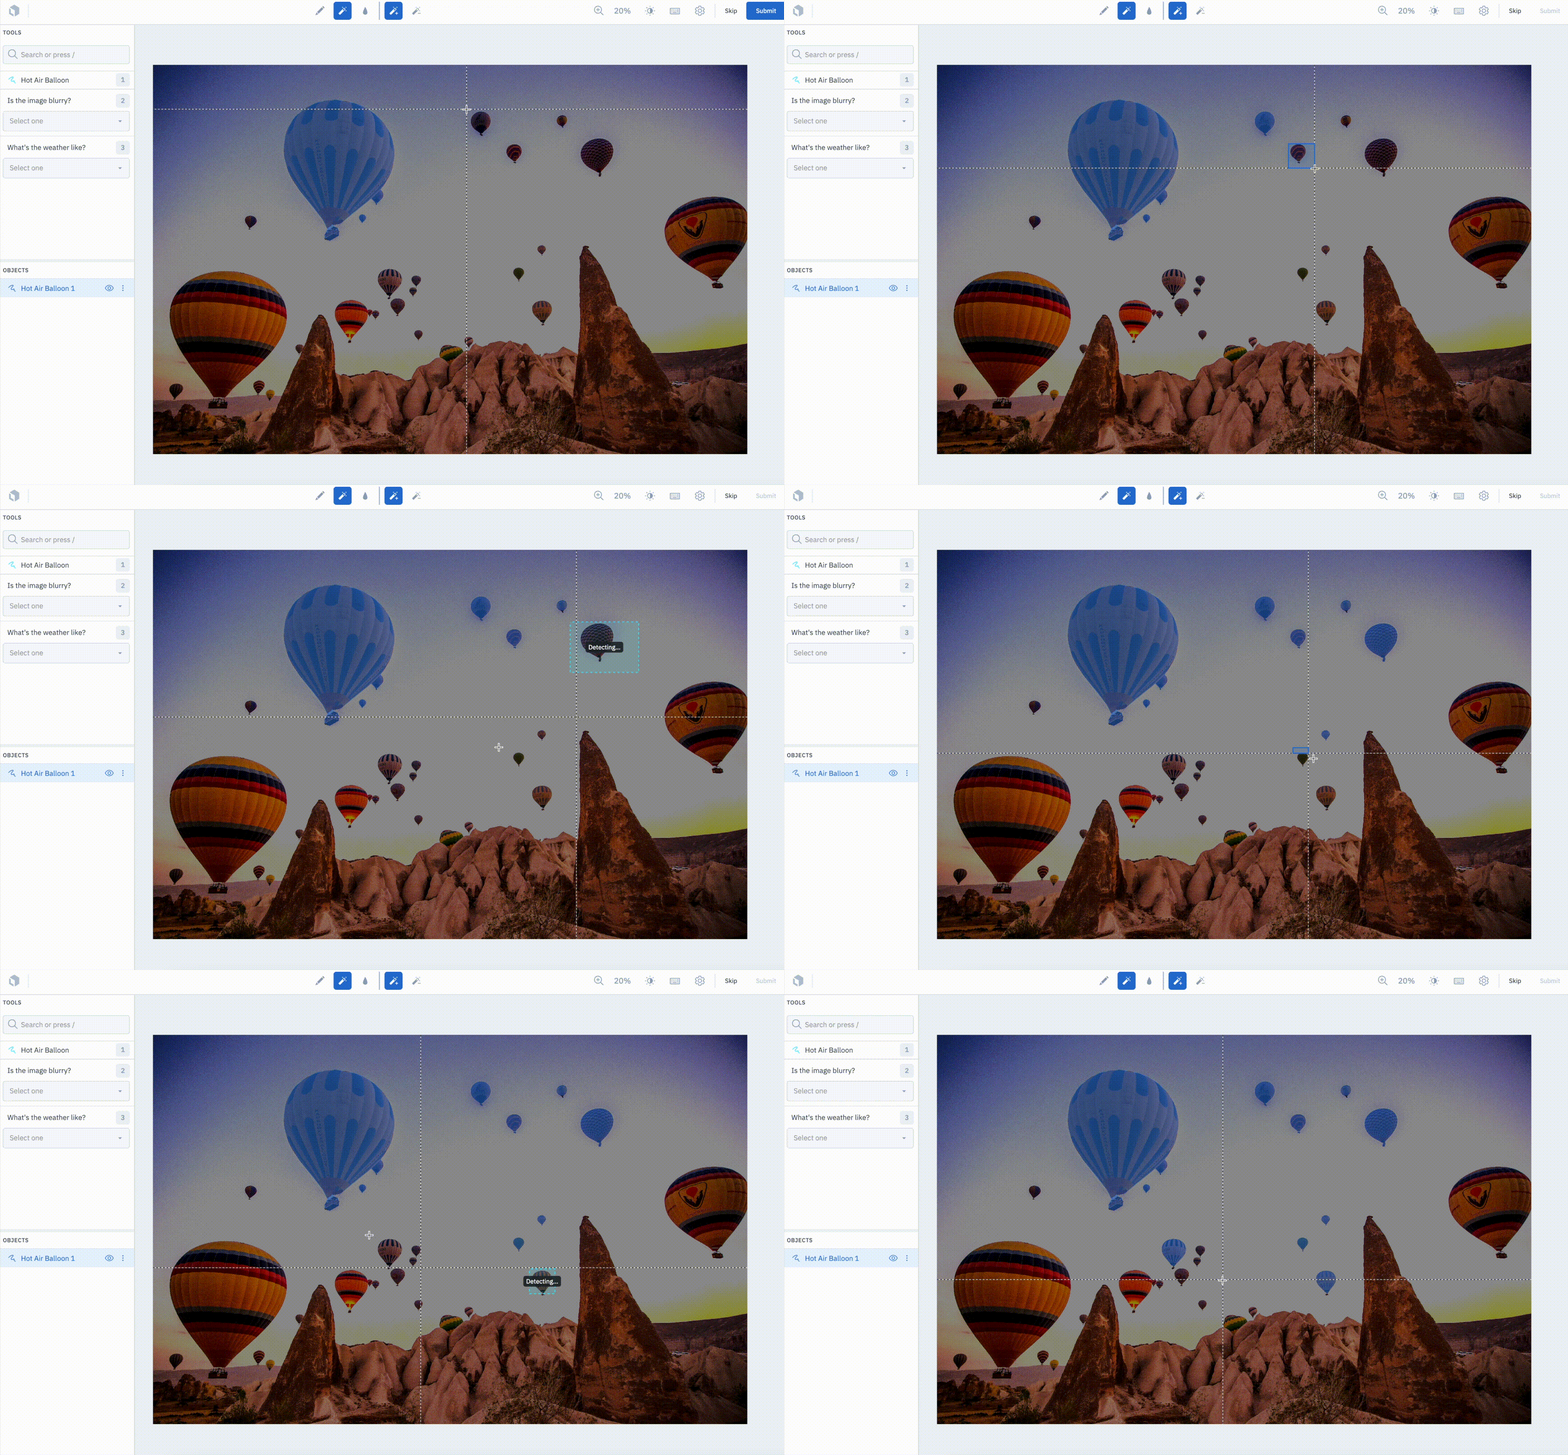
3. In less than a second, our tool will return a quality segmentation mask. You can use our pen tool to add to or subtract from the mask prediction. If you accidentally create a mask over an area that you don’t want, you can use our auto-erase tool by drawing a bounding box over the area to delete the mask.
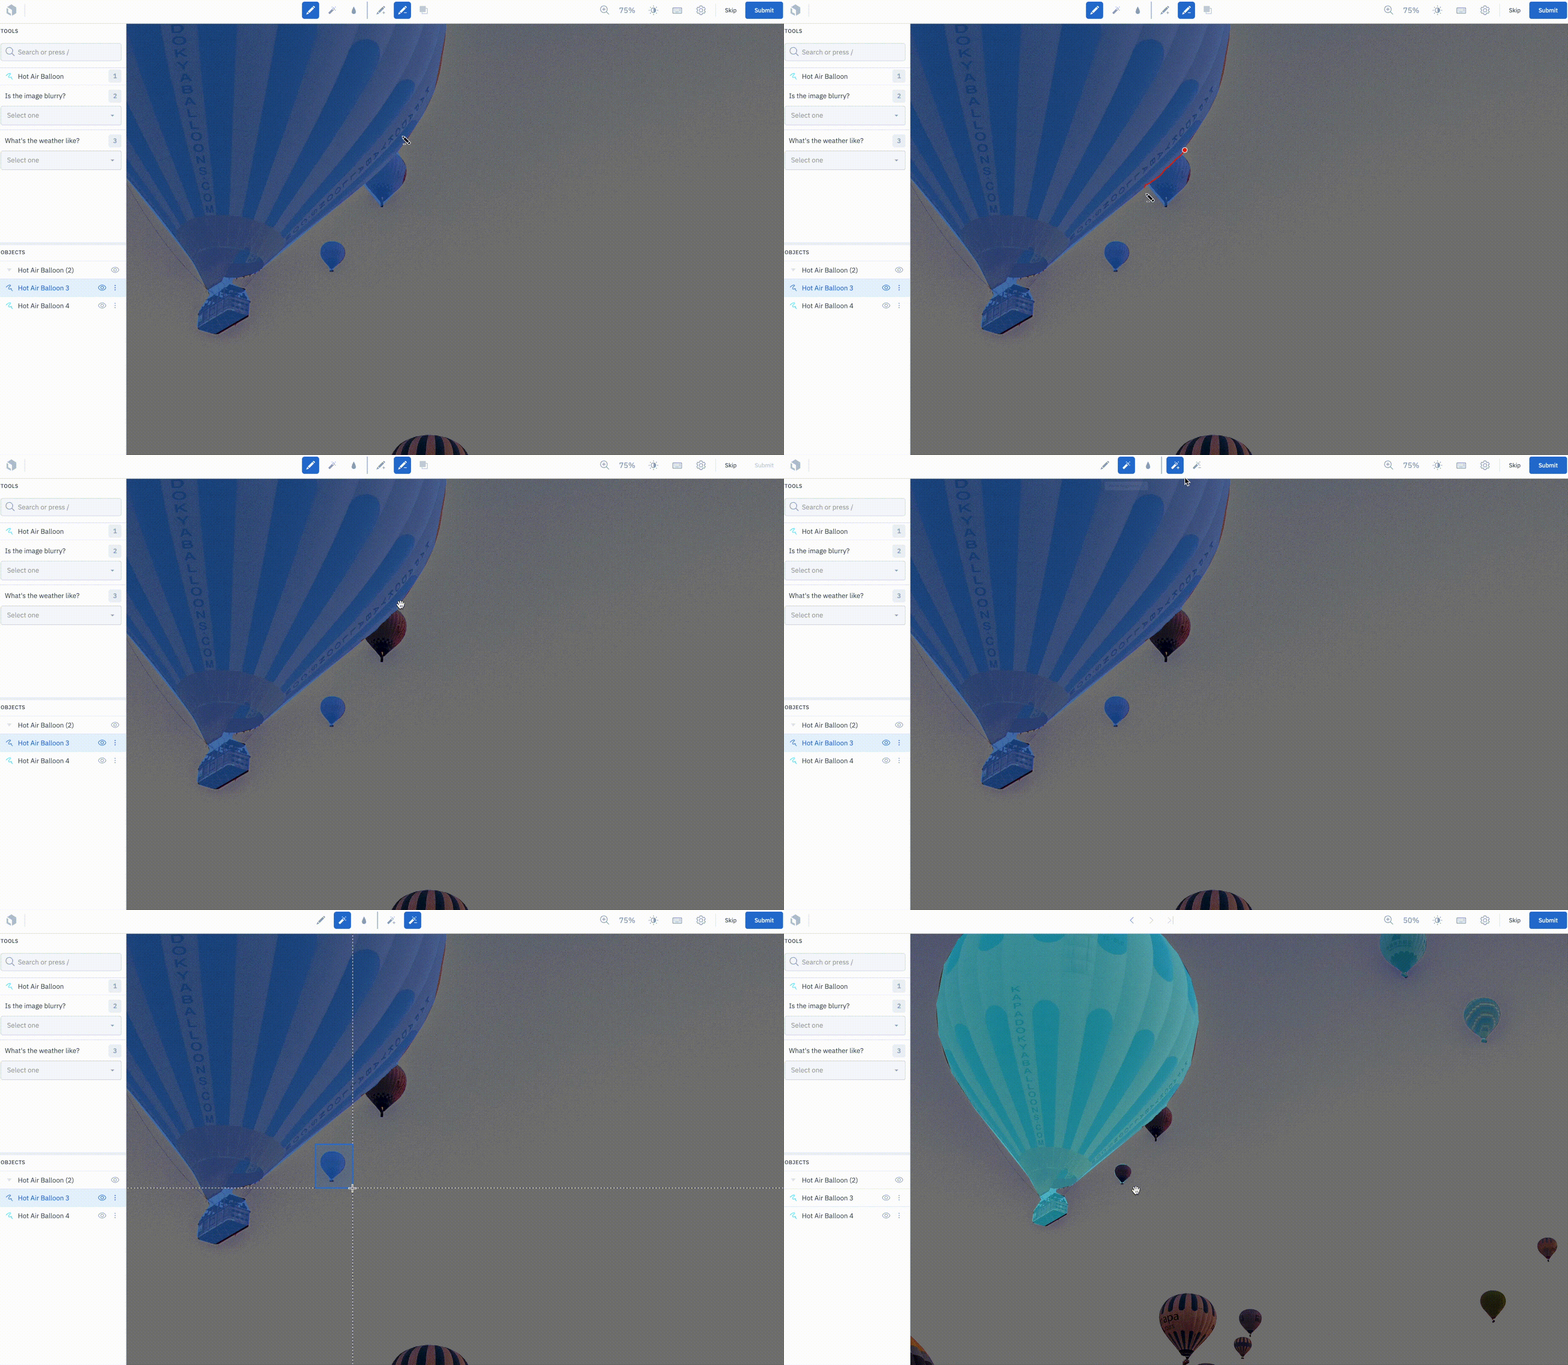
For a more step-by-step tutorial, you can watch the demo below or read more in our documentation.
Integrate a model to make labeling faster and more accurate as you iterate
While ML-assisted tools can be great for teams who are just getting started on labeling their data, teams who adopt more advanced techniques like pre-labeling can take automation to a whole new level.
By using your model or a model of your choice, you can dramatically accelerate your labeling efficiency with pre-labels. Pre-labeling decreases labeling costs as the model gets smarter with every iteration, leaving teams more time to focus manual labeling on edge cases or areas where the model might not be performing as well. It’s not only faster and less expensive, but delivers better model performance.
Read this case study to learn more about our pre-labeling workflow powered by model-assisted labeling (MAL) and how one of our customers used MAL to increase their labeling efficiency by 160%.
Our image auto-segmentation tool and model-assisted labeling workflow is currently available to all customers. We’re excited for our users to experience the ways in which automation can dramatically cut costs and increase labeling efficiency.
Try our auto-segmentation tool on an image labeling project or get started with model-assisted labeling today.

 All blog posts
